We continue to talk about how we achieved the result that you have seen many times in our screenshots, as well as about what else was added to the game client besides graphics.
Reflections
In the last part, we talked about SSR reflections – reflections that work exclusively with the information that is currently on the screen. It is for this reason that such reflections “disappear” if the camera looks down at a strong angle – there is not enough information on the screen to build a full-fledged reflection.
But they are not the only ones used in the game. For example, when we approach a metal post, we want it to reflect what is around us – even what is beyond our visibility (behind our back, for example). To do this, the game must put the camera in place of this column, and then make a “capture” of the image of everything that is around and subsequently it is this “captured” image that is used to draw the reflection. A kind of reflection map.
In order for the game to know where to create such reflection maps, special markers are placed in the editor, called Sphere Reflection Capture and Box Reflection Capture. In most cases, for example, spheres are used, and boxes are used in rooms.
This is what these spheres look like in our MTA client
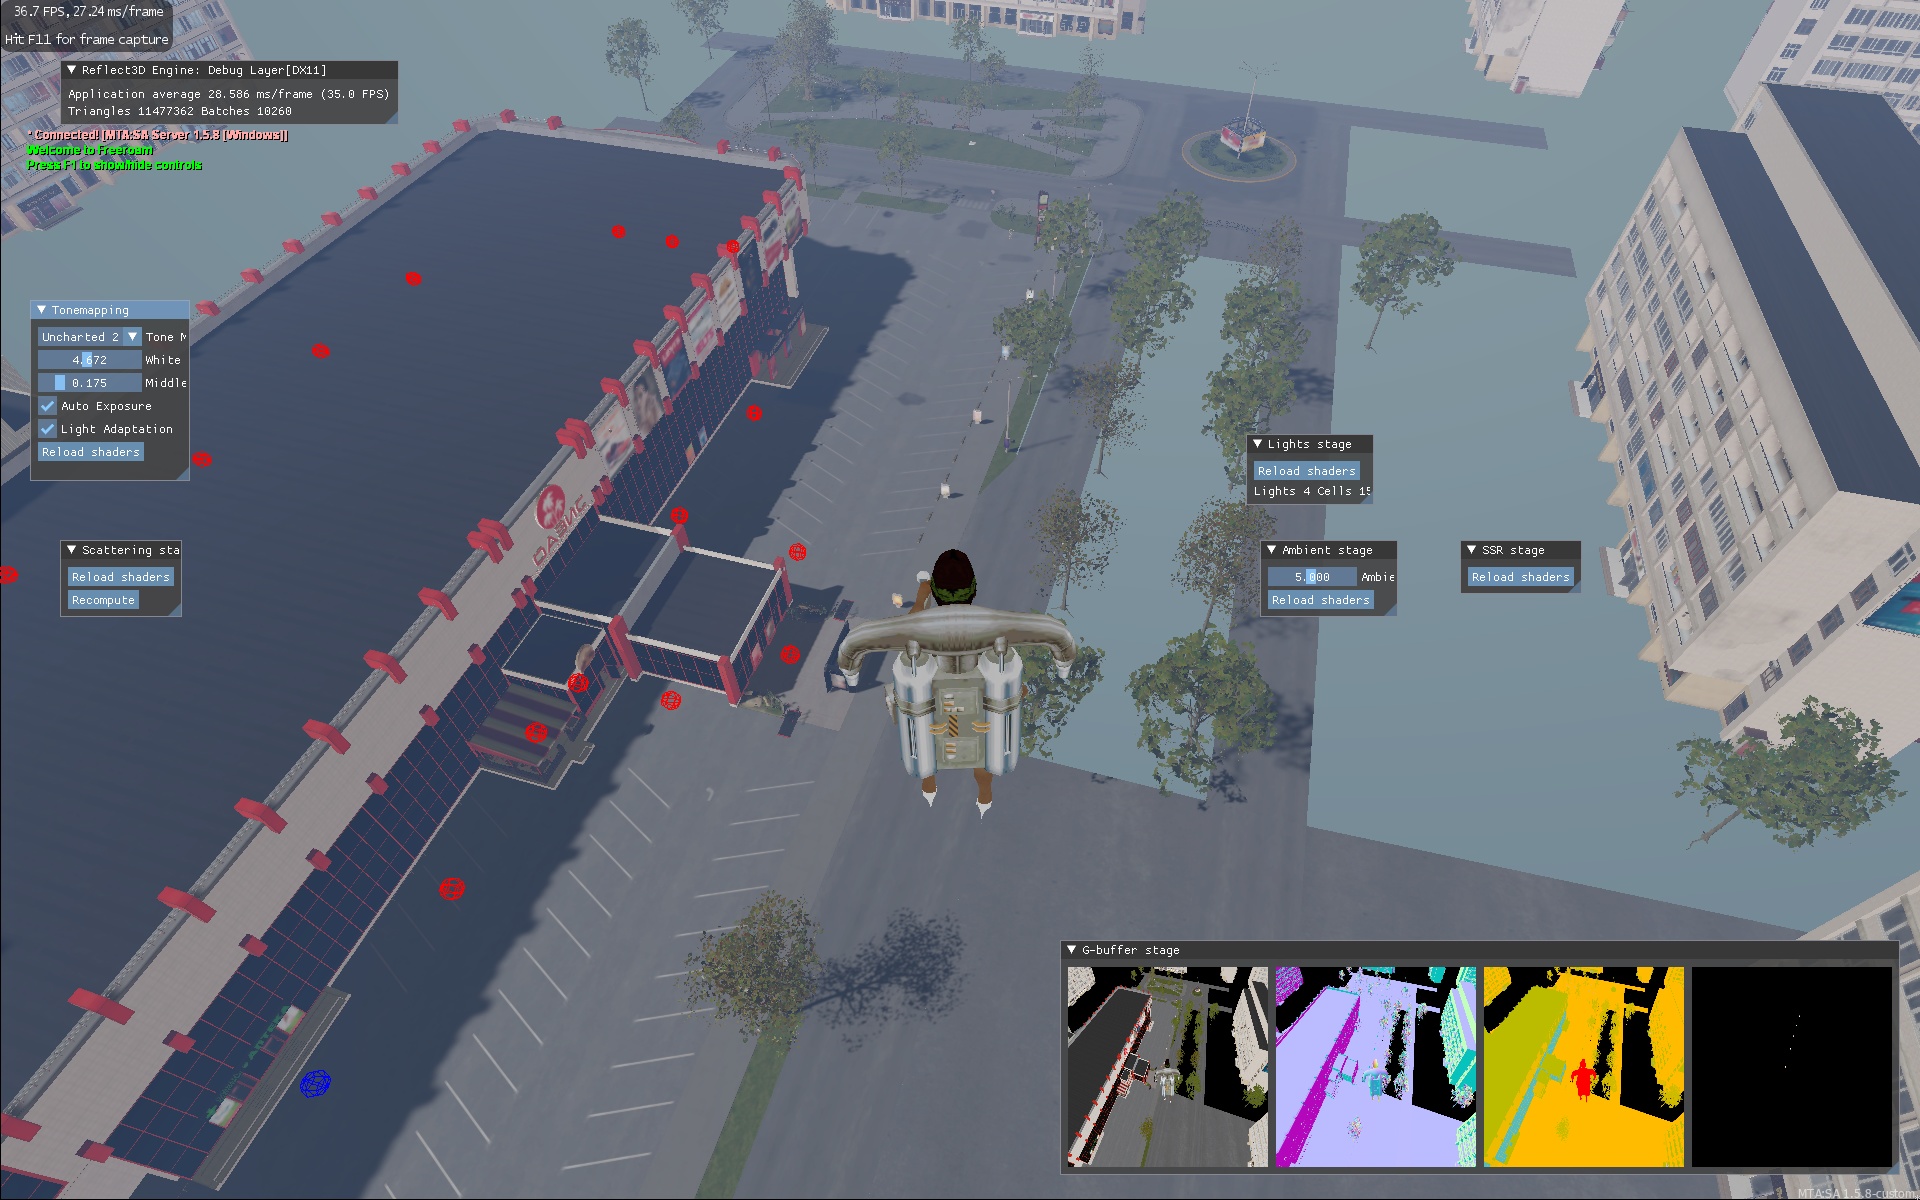
Their main purpose in these places is reflections in the glass of the shopping center.
In the glass, you can see the reflection of houses that are out of sight. They lookd odd because the reflection quality settings are low and blur is also turned off.
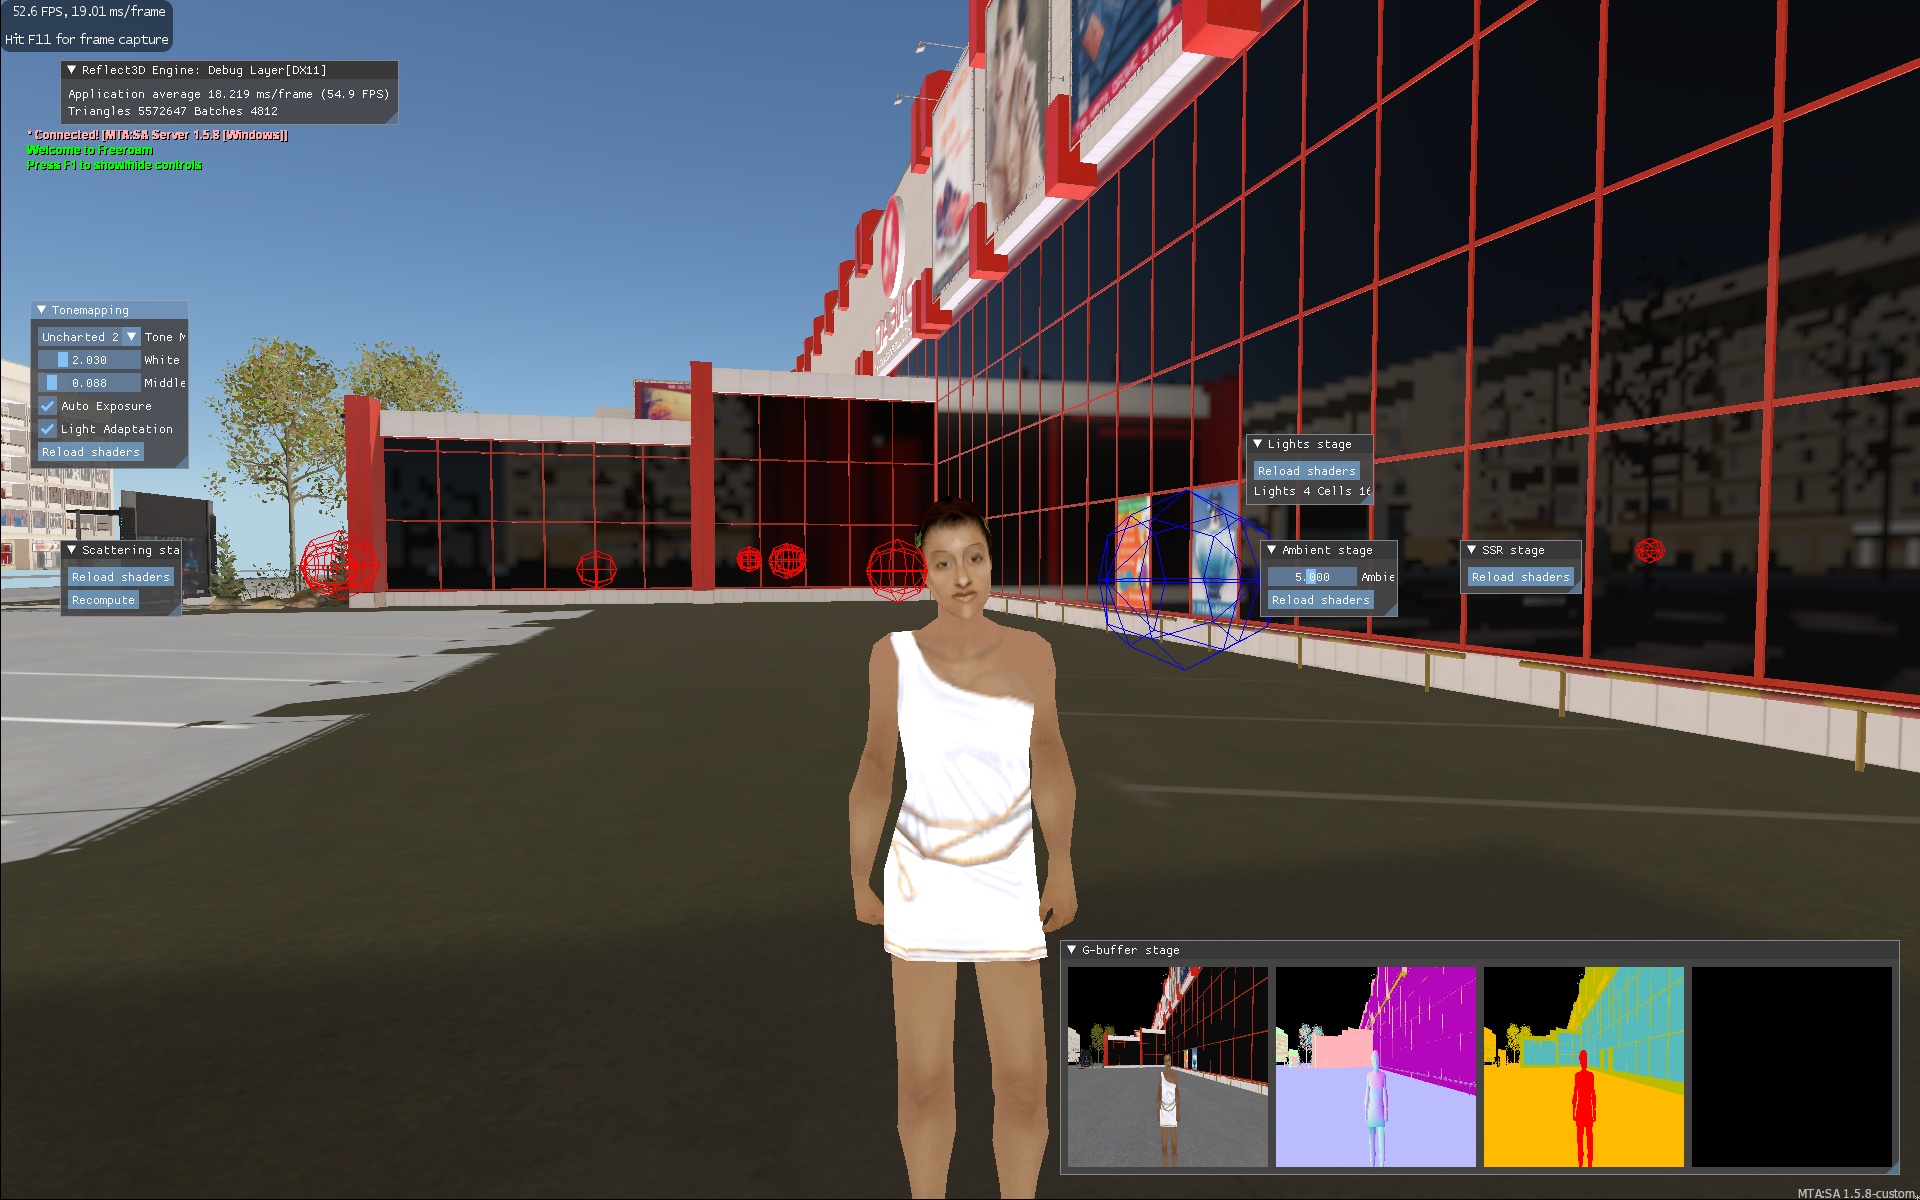
And this is an example with columns. You can see red shades in them – this is the reflection of anearby shopping center.
Apart from the fact that these reflections allow you to show what is off the screen, they are also less demanding on computing power (especially static reflections).
The difficulty that we encountered in their implementation is that such reflections for optimization are built either very rarely, or even only once. But then they do not take into account the sky (time of day, color of the sky, etc.). I had to think carefully to combine all this together and at the same time not lose performance.
Splines
After we decided to use Unreal Engine as the map editor, we also thought about adding to the MTA some of the features that are widely used in UE and make life much easier for modelers / level designers.
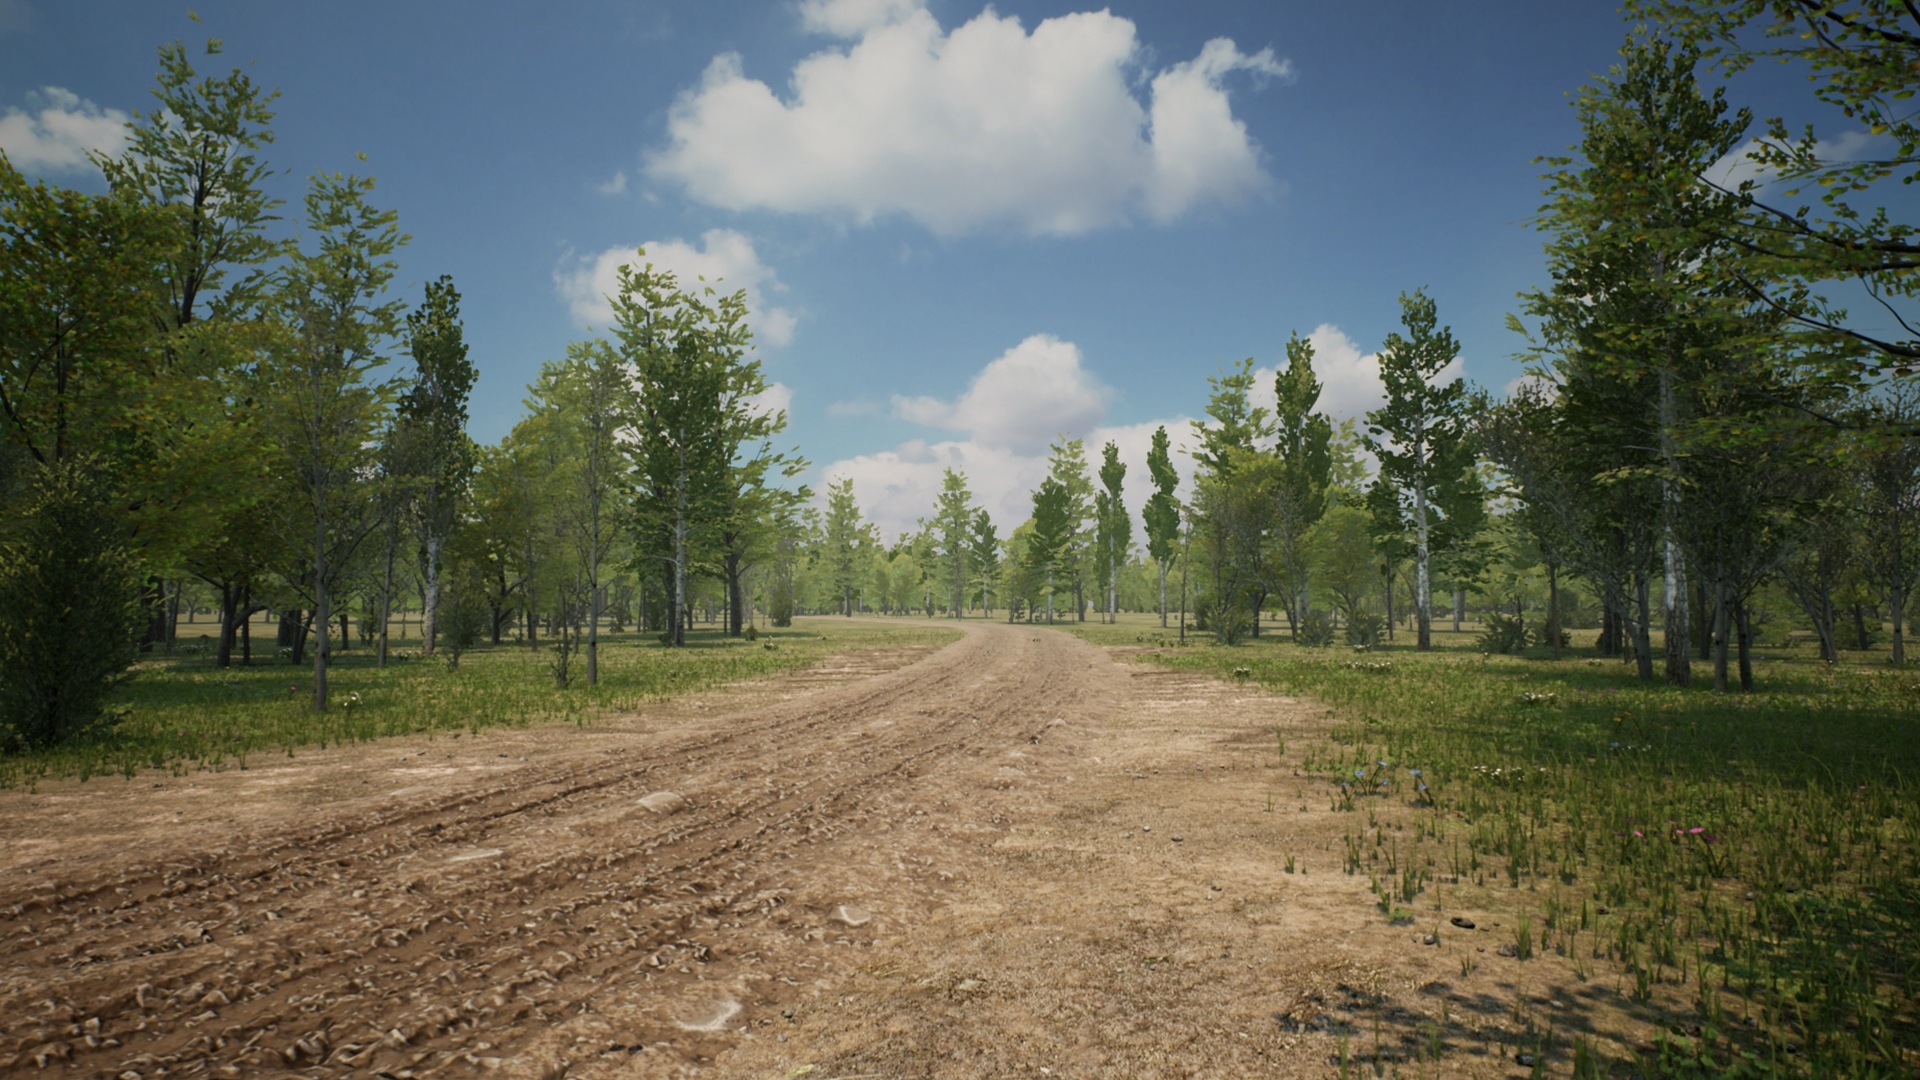
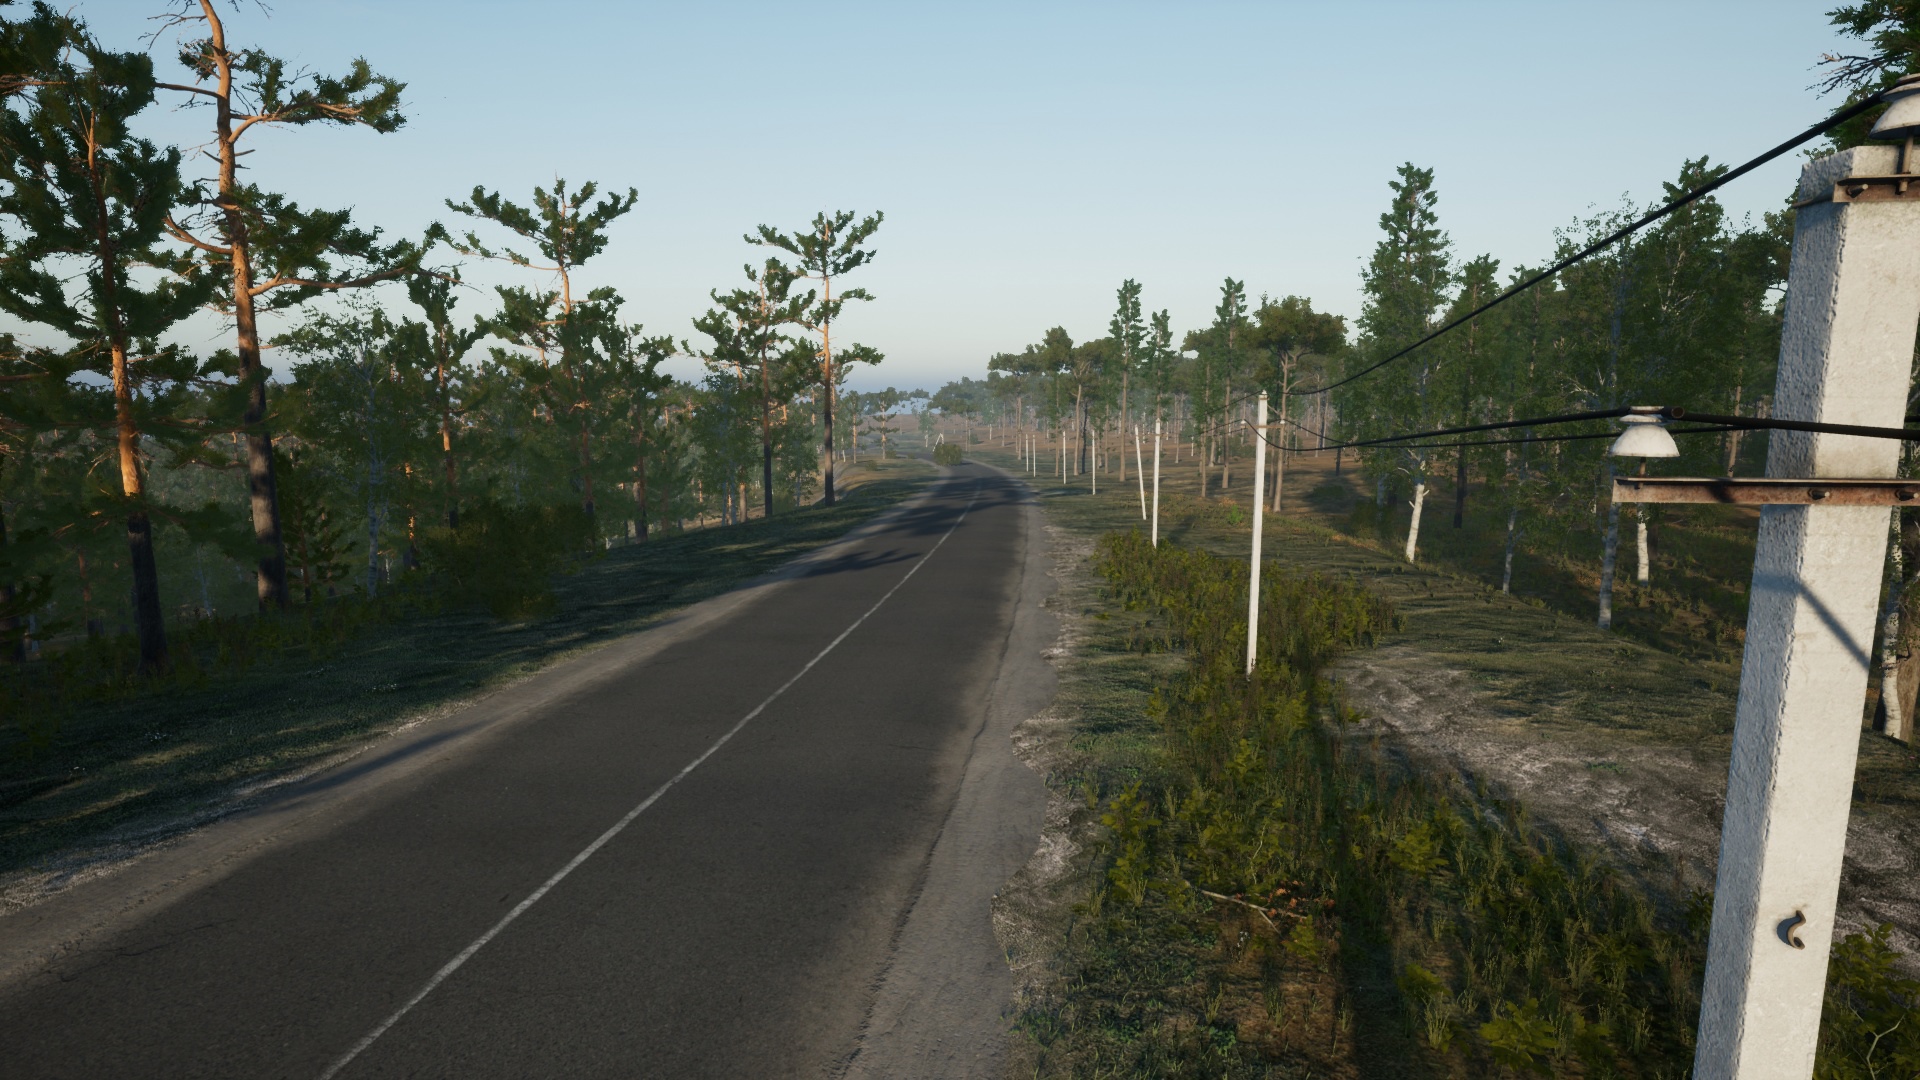
One such feature is splines. After all, it is very convenient when you can put several points and between them, for example, a fence, rails, a road or a hanging wire will be automatically built.
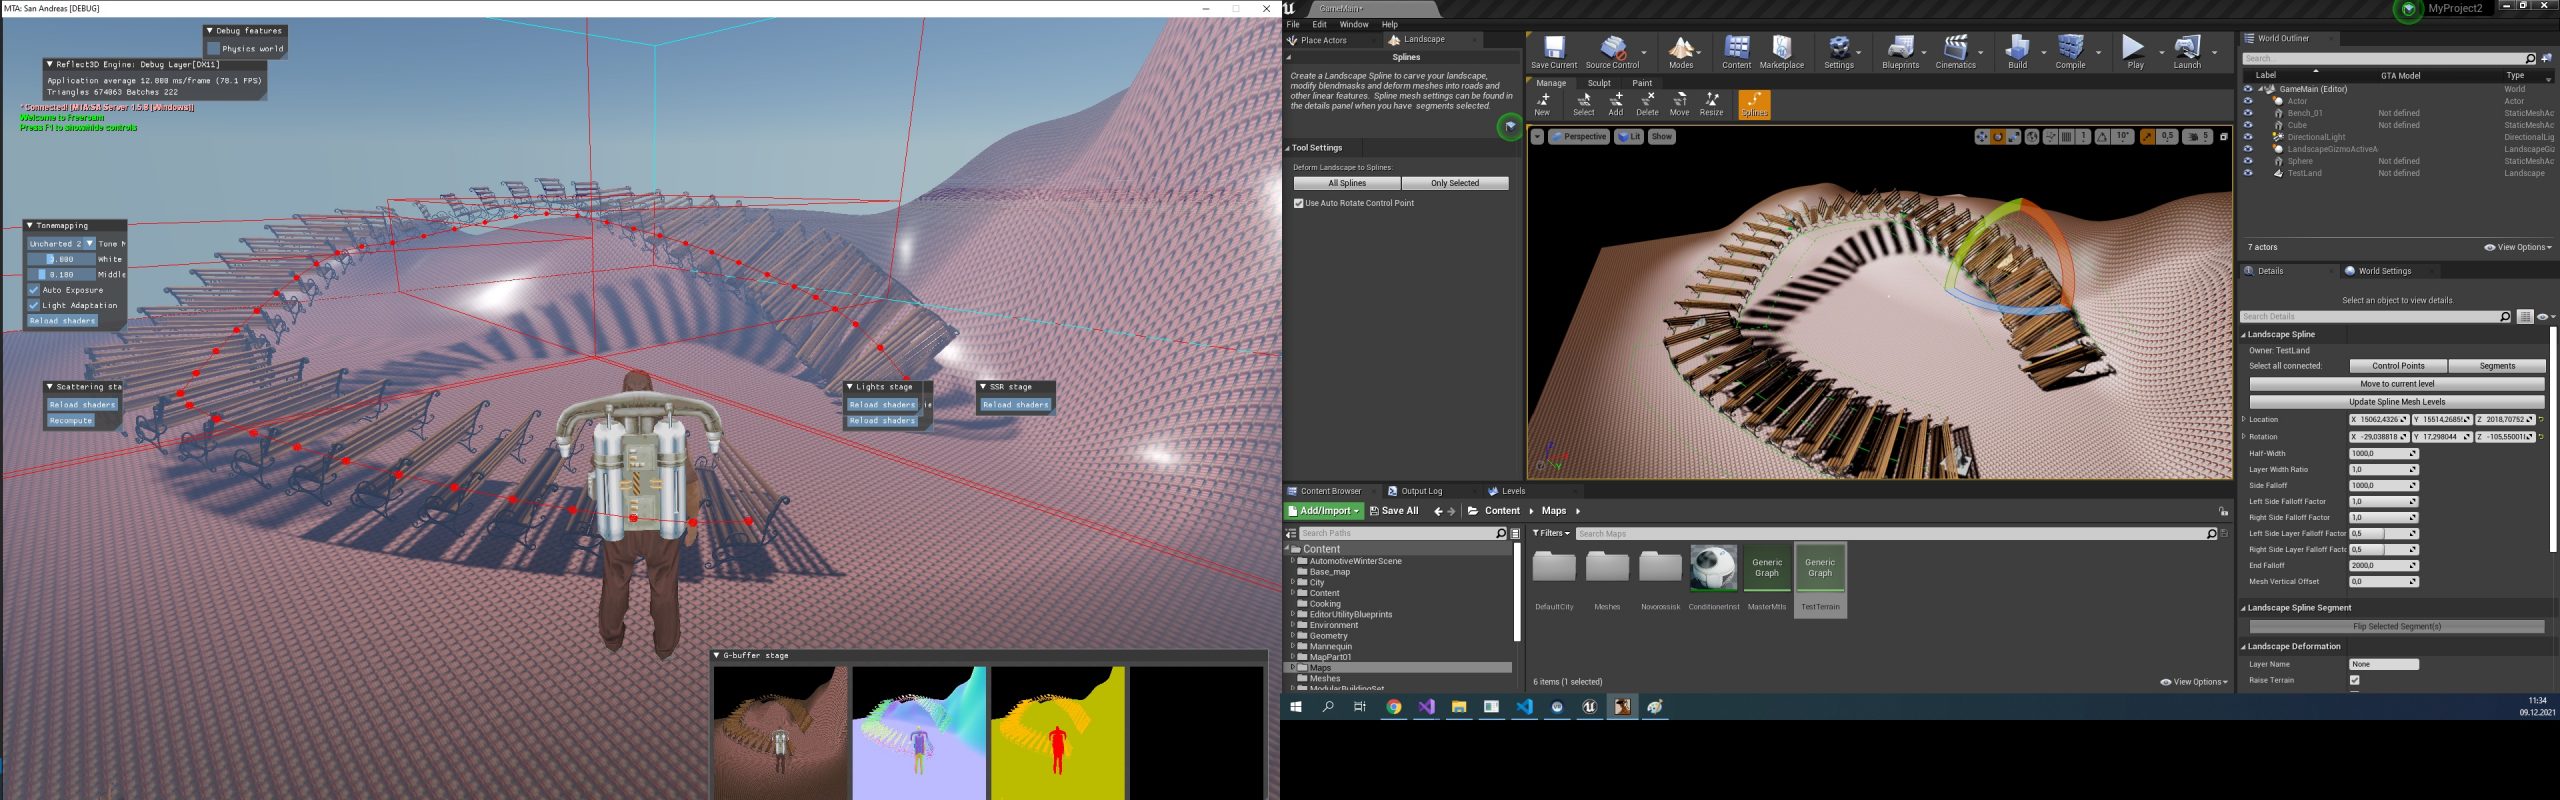
This feature is actively used, for example, for roads and wires (screenshots from later stages of development):
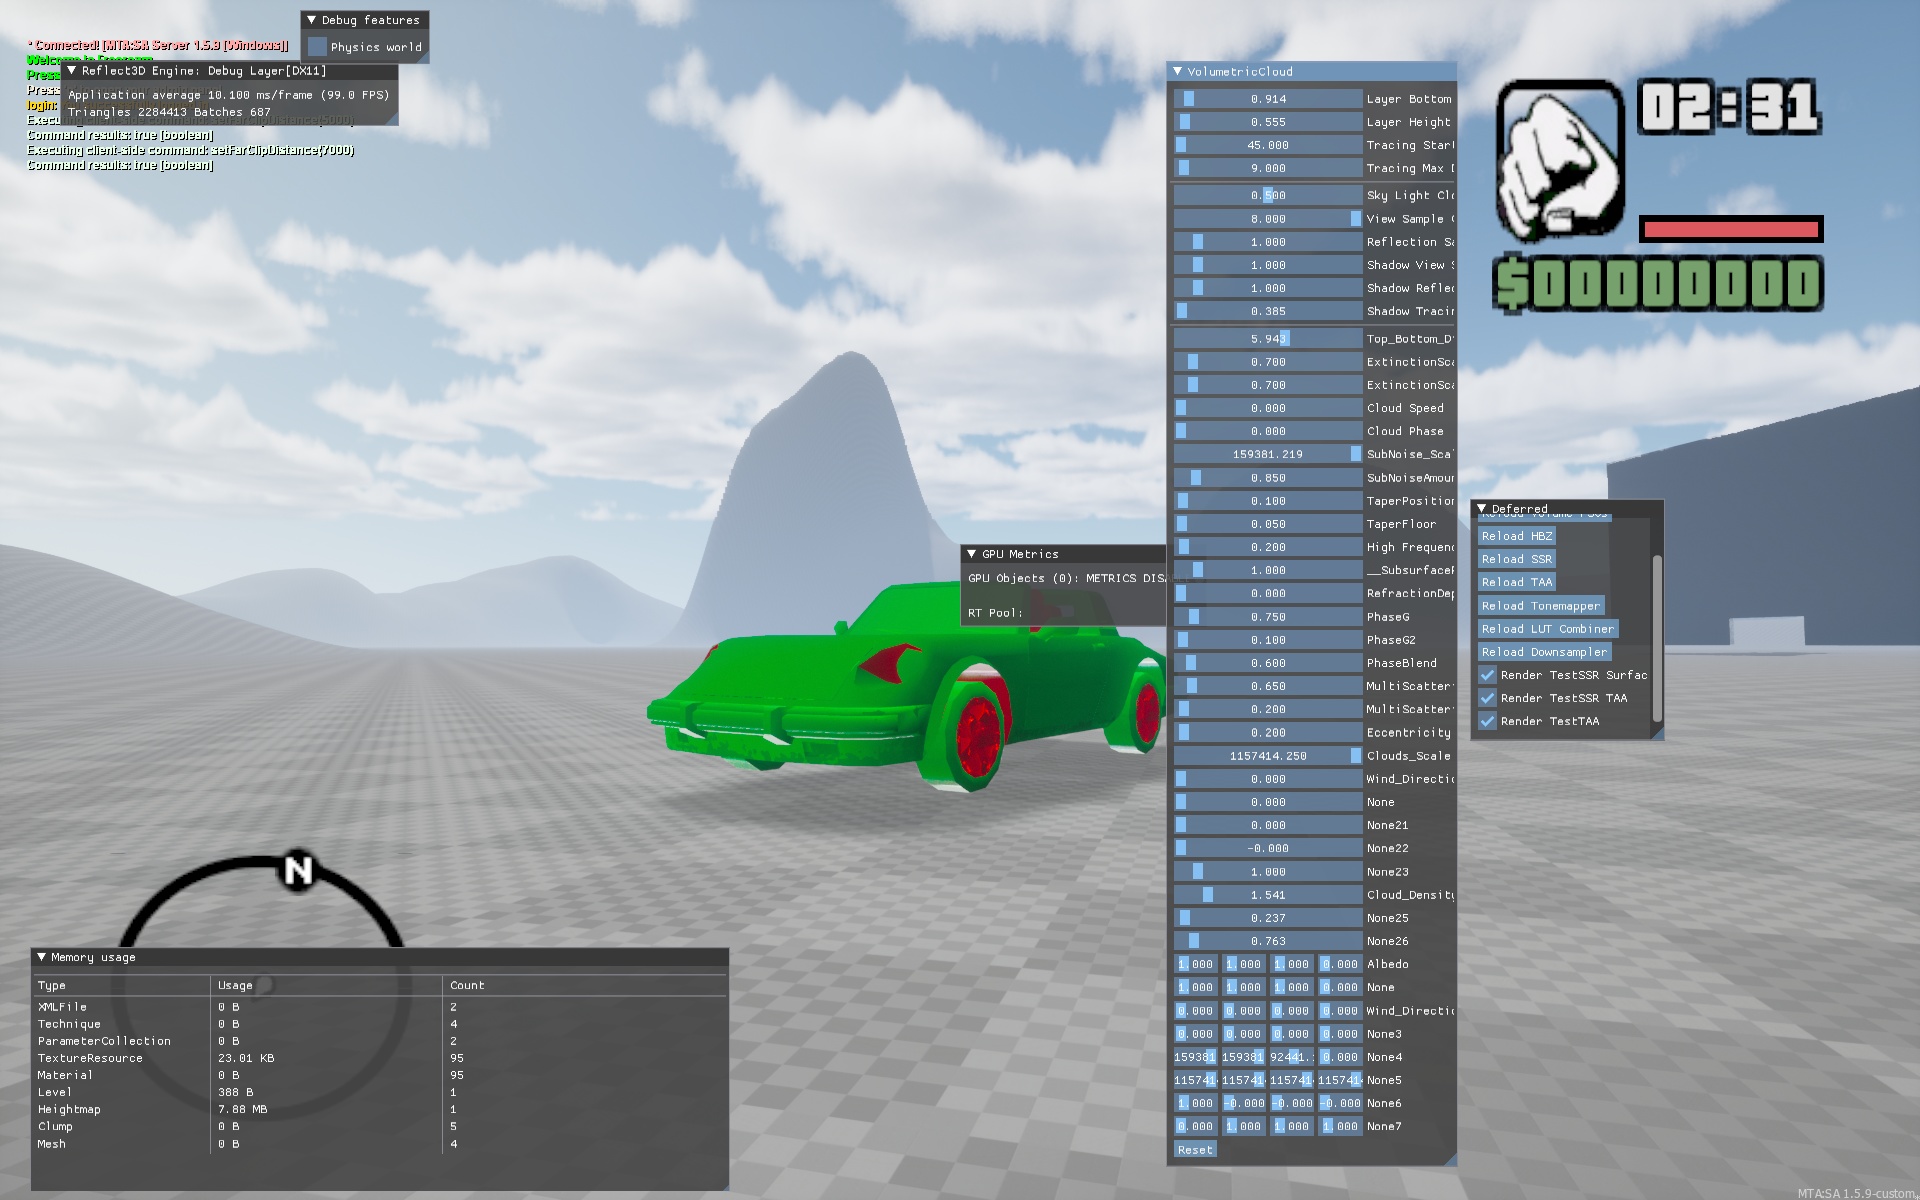
Clouds
For weak computers, we just use a high-quality skybox (similar to what we did for RPBOX), but for owners of powerful hardware, we decided to make real dynamic volumetric clouds.
To do this, we considered various options, including ready-made solutions, like trueSky, but in the end we decided to make our own implementation, close in image quality and capabilities to Unreal Engine clouds.
This job took almost a month.
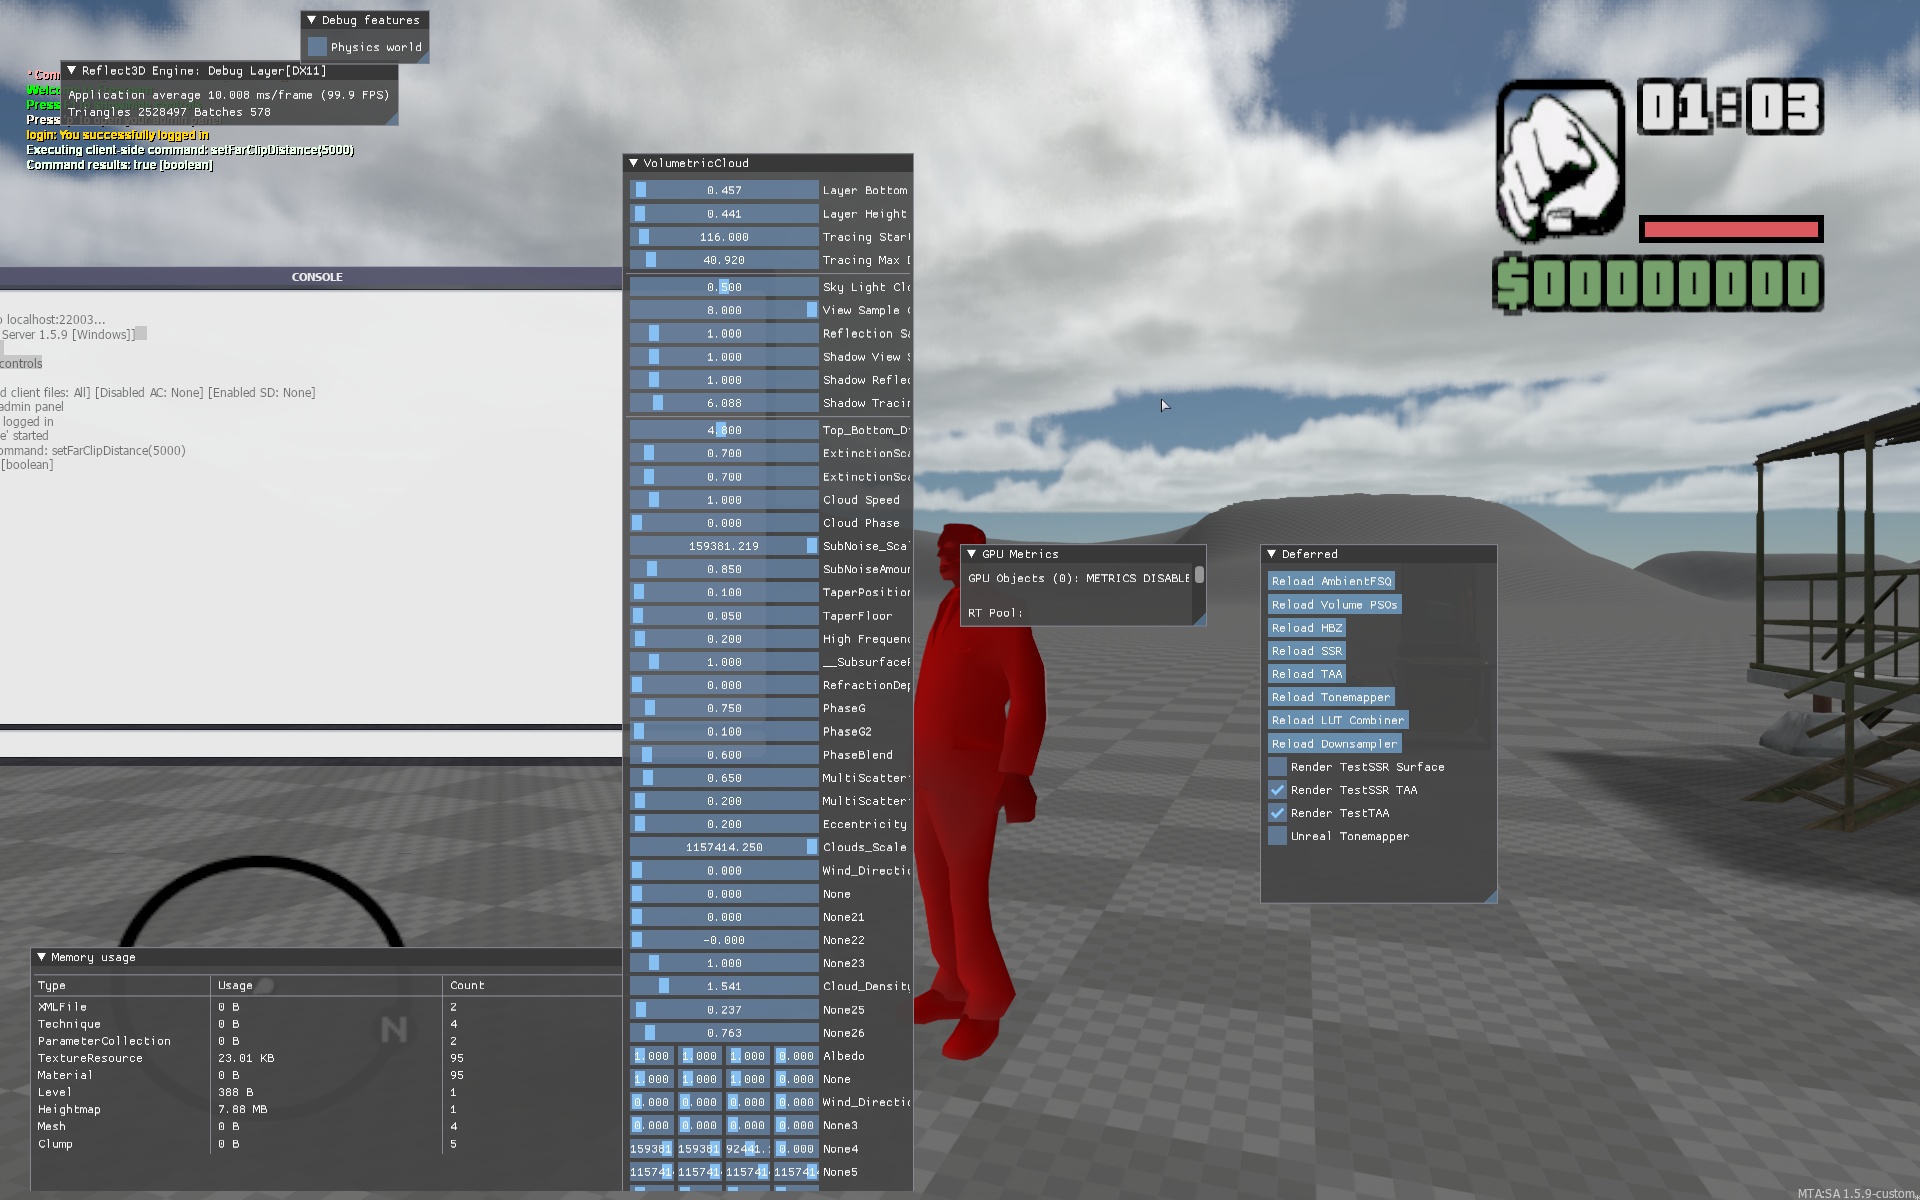
The tall window is a list of cloud settings. All these parameters are controlled by the weather system, which we will discuss in one of the following articles.
And these are the clouds with the correct tonemapping and post-processing:
Like it? We are pleased with the result.
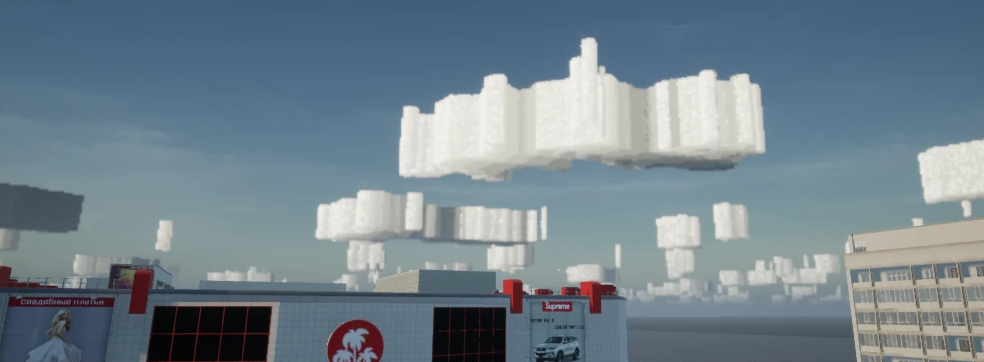
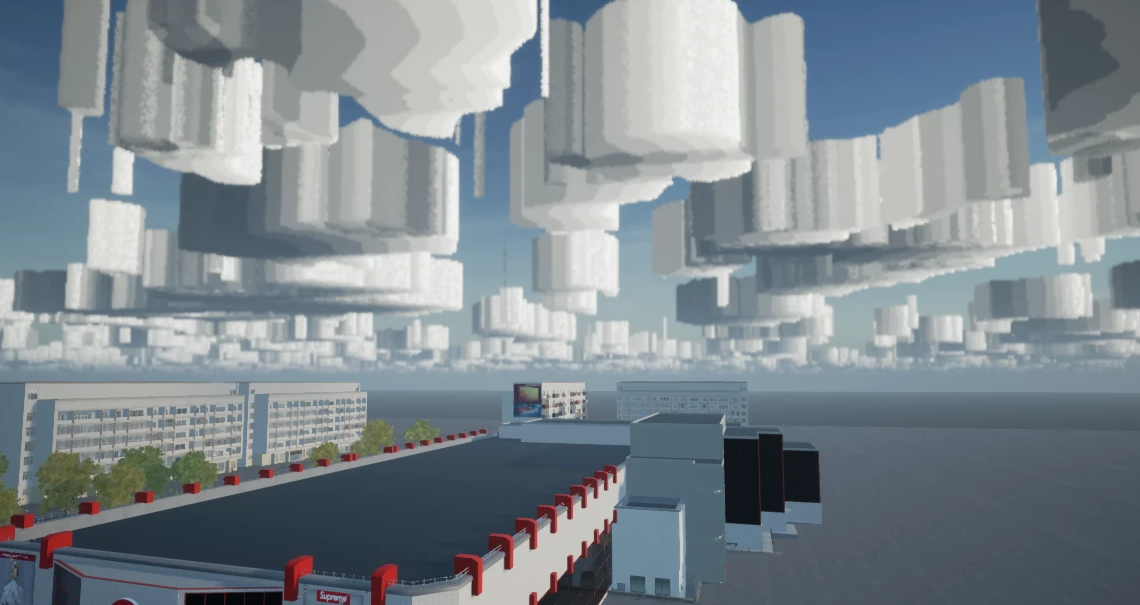
Not without ‘interesting’ bugs
Combined with atmospheric dispersion, which we talked about in the second part of the diaries, this is the beauty:
Optimization
Optimization covers a huge number of aspects. But now we will talk about optimization, which is called Occlusion culling.
This is a technology that allows you not to draw on the screen those objects that are hidden by other objects.
GTA SA also uses this technology, but it is implemented there at a rather primitive level, which is why it cannot be used for too many objects, otherwise it can cause a noticeable performance drop. Not to mention the fact that there all the overlapping planes must be placed manually.
Since our models are much more “heavy” and complex, the use of such optimization becomes very critical. Therefore, we made our version of optimization, where the size of visible objects is automatically calculated, and if they occupy more than a certain area on the screen, then occlusion culling is turned on for them and all objects that are behind them stop being drawn.
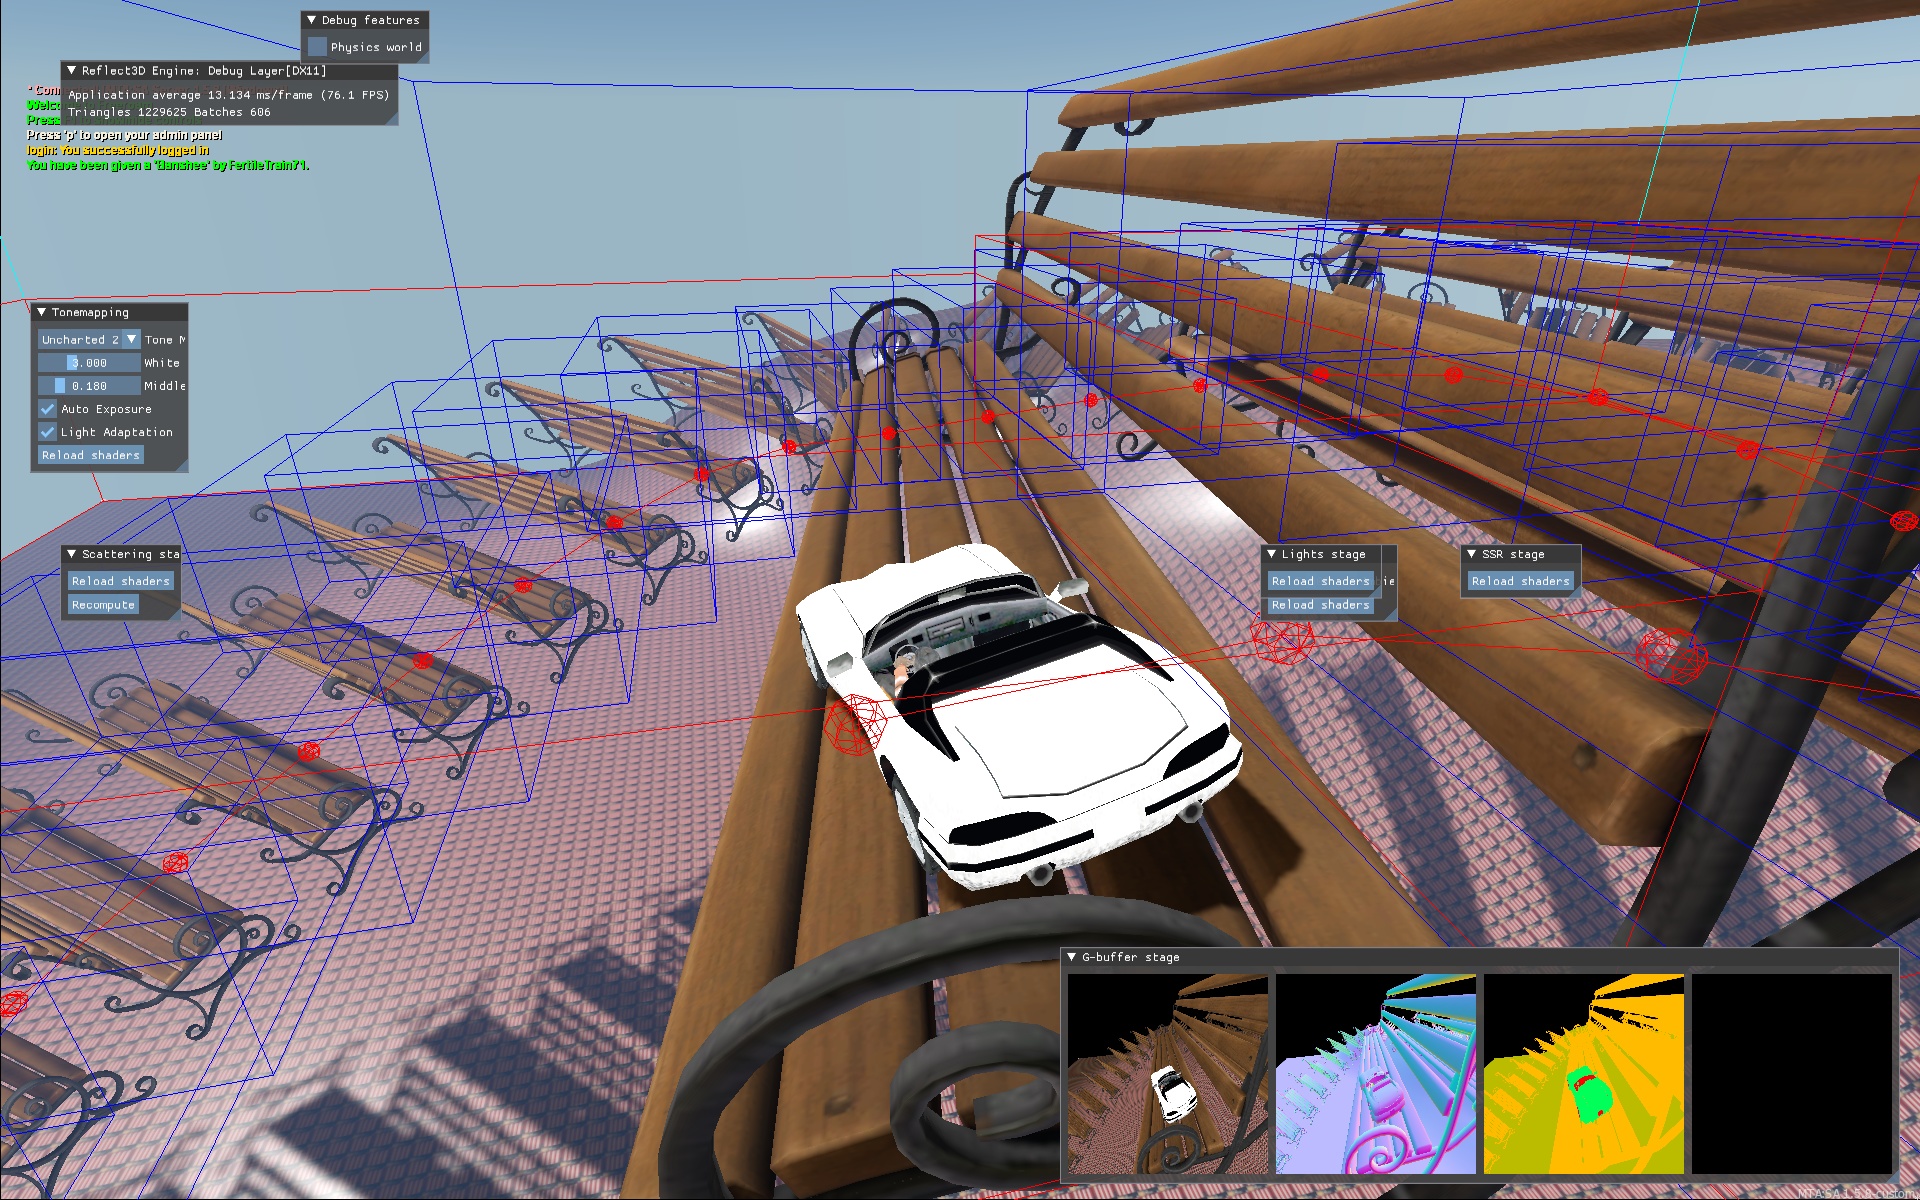
A little demonstration:
Advanced implementation of Occlusion Culling.
Here, the red boxes show the boundaries of the objects that were excluded from being drawn on the screen by the occlusion culling algorithm.
That’s all for today, see you in the next part!